
Three (3) reasons to use a microbalance
When small weight variations may make a huge difference, such as in product testing or QA labs, consider a microbalance.
Three reasons to use a microbalance include:
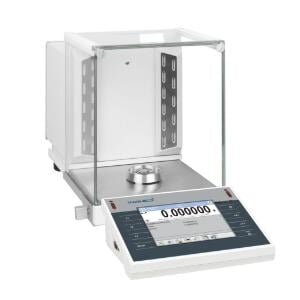
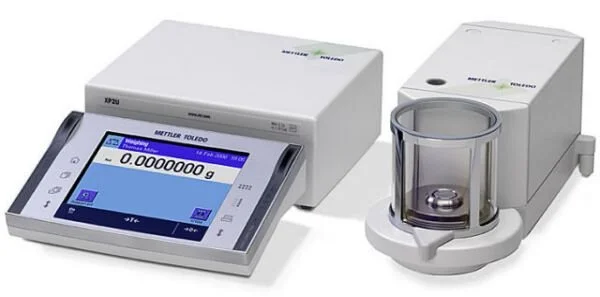
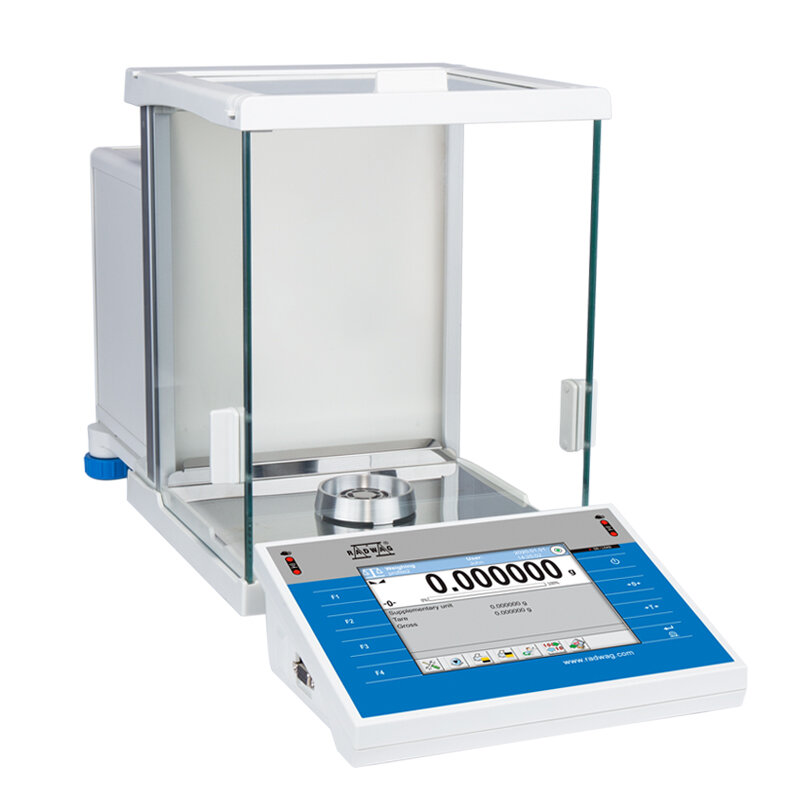
1. Sensitivity. Microbalances can take a precise measurement of weight of an object of relatively small mass, such as a million parts of a gram. Comparatively, a standard analytical balance is 100 times less sensitive. Microbalances are also very sensitive to exposure to air currents, dust, and thermal fluctuation. Because of this, microbalances should be placed in a hood or enclosure when in use. Some models offer air buoyancy correction software, which compensates for fluctuations in air density.
2. Precision. These balances are designed to meet exacting production standards. Laboratory researchers use microbalances for checking uniformity in critical components.
3. Features. Depending on the model, features can range from a built-in ionizer and anti-static glass breeze break to improve weighing by eliminating static to advanced weighing technology to maximize performance in strictly regulated environments. Some microbalances offer technology that enhances the user experience specifically for complex applications.
Environmental conditions may cause weighing variations. If the load cell of a micro balance is disturbed, either by sample loading or environmental exposure, the instrument will need to settle completely before accurate measurements can be taken. Therefore, a vibration isolation system’s settling time is a key criterion affecting the accuracy of these instruments.
Now that we know when and why we would use a microbalance, let’s consider how to achieve optimal performance:
1. Choose a Stable Weighing Table in a Quiet Place to Set Up Your Balance.
The table should be solid-built and, whenever possible, be made of stone or synthetic stone.
Avoid causing the tabletop to sag or deflect even slightly; for example, never use it to prop up your arm.
Set up the balance in a vibration-free location. Ensure that there are no machines or engines that generate vibrations or electromagnetic fields near the balance. Magnetism must be ruled out (e.g., tables may not be made of stainless steel).
Do not position the table in the middle of the room, but near a wall or, even better, in the corner of a room, as this is where the vibration amplitudes are generally at their lowest.
Avoid exposing your balance to sunlight and infrared radiation emitted by lamps or heaters.
The location may only be slightly ventilated. Exposure to drafts needs to be avoided, and the air flow rate should be below 0.2 m/s.
Cold air currents from air conditioners may not pass directly across or over the draft shield, as this can result in an inversion layer of air inside the draft shield. This, in turn, can cause unstable weight readouts.
2. Work in the Lab under Consistently Constant Climate Conditions.
Avoid significant temperature changes or spikes.
Keep the relative humidity as constant as possible. Prevent the relative humidity from dropping below 40%, as this will significantly increase interference by static electricity.
Use climate sensor options to monitor climate conditions (temperature, barometric pressure and relative humidity) if your microbalance has this feature
Use the options to eliminate electrostatic influences. Electrostatic charges on glass vessels dissipate only very slowly, particularly when these vessels have very clean surfaces, especially when they are used freshly from a laboratory glass-ware washer. Electrostatic influences are easy to detect by the continuous drift of weight readouts. Increase the air humidity to levels up to 60%, and use an ionizer to reduce these effects on the resulting weight readings.
3. Ensure That the Balance Is Leveled and Calibrated.
Routinely calibrate the balance following the internal calibration procedures.
Moreover, routinely check the balance using an external, certified weight.
4. During the Measuring Sequence, Ensure That ...
the vessels used are acclimatized next to your balance; i.e., have adapted to the temperature conditions in the same room.
you do not touch the container with your hands when positioning it on the weighing pan or in a sample holder. Touching the sample vessel with your hand usually increases the temperature of the vessel. Buoyancy and air current effects influence weighing results. Remember that it takes ten minutes for these effects to subside. Use a pair of tweezers or forceps to position the vessel.
Avoid placing your hand inside the draft shield to ensure that no unnecessary interchange of air outside and inside the draft shield takes place and that no heat is transferred into the draft shield.
Avoid touching a vessel with your bare fingers at all times, as a single fingerprint can weigh up to 50 μg and therefore have a major impact on the accuracy of your weight measurement result.
When weighing, ensure that no powder falls onto the weighing pan next to the vessel, as this will mean that the displayed sample weight is not what is actually in the vessel.
Avoid the complete interchange of air when opening the draft shield by opening only one door, where possible. Opt for using the draft shield learning capability to open the door only as far as actually necessary.
Carefully place the tare container on the weighing pan or in the sample holder. Avoid applying any excessive force.
Do not lean on or against the weighing table or rest your arm on it during the weighing procedure.
Closing Words
At American Scale we strive to bring you informed and useful content on all things scale related. Be sure to check out our legal for trade truck scale system articles about truck scale foundation or how much do truck scales cost. We even have a guide to warranties. We also have articles on scale accessories, common problems to prolong your scales lifespan, weighing applications as well as what scale indicator works best with your junction box. To learn more about bench scales, it would be good to check out our other articles such as “Bench Scale Basics'' and “How Much Does A Bench Scale Cost?”. These articles will help with the basics of bench scale ownership.